Tinker Board bare metal: build, boot, and hang
My recent interest in low-level programming got me to dust off the Tinker Board and start learning to talk to bare metal. I hope to share all I know so far, and learn more along the way.
What I’d like to cover:
- Build and boot a bare metal ARM binary ← this article
- JTAG debugging
- The stack & C environment setup
- Basic peripherals - UART, GPIO
- MMU, caches, and cores
- …
Please note I’m quite new to this. There may be inaccuracies or just plain errors. I’d love to hear at lukasz@THISDOMAIN when you find them.
What’s a Tinker Board?
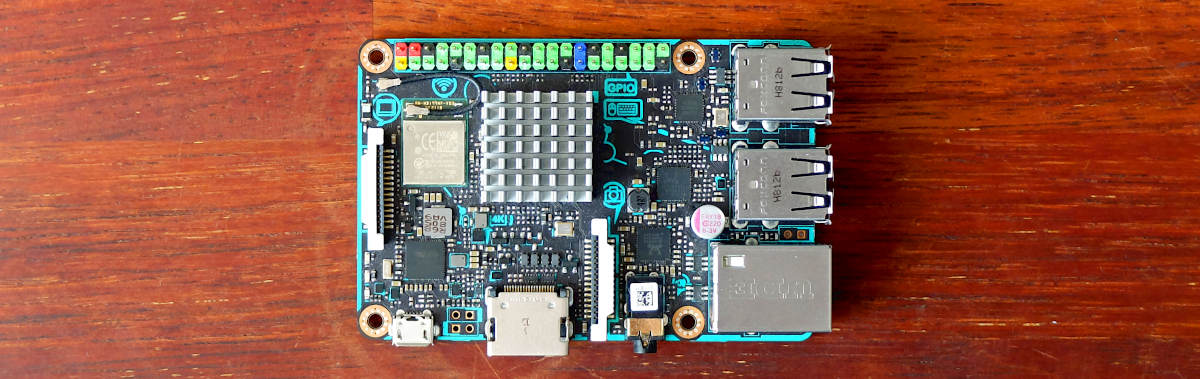
The ASUS Tinker Board is a single-board computer based on the Rockchip RK3288 SoC. While not nearly as popular as the Raspberry Pi, it has quite a few things going for it:
- The SoC has a very competent 1.8GHz quad-core Cortex-A17 with a Mali-T760 GPU
- RK3288 was used in a few Chromebooks, and many Android TV-boxes and tablets, and has seen open source contributions from multiple sources
- There is very good mainline support in U-Boot and Linux
- There’s been exciting progress in the free panfrost driver for Mali GPUs, including the T760
- The board is readily available at a reasonable price
- I own one
In this part
We set up the cross-compilation toolchain, build an ARM binary, burn it to an SD card and boot on the board.
The code
There’s more setup than programming work today, so we keep code to a minimum. The program will first do nothing and then do more nothing in a busy loop.
.globl _start

_start:
  b  main

main:
  b  main
This is ARM assembly equivalent of:
10 GOTO 20
20 GOTO 20
Why do we need the first branch at all? One of the intricacies of RK3288 is that it expects "RK32" as the first 4 bytes in the binary. In our build process, the first b main (compiled to 0xeaffffff) will actually be overwritten by "RK32". We could just stick four zero bytes in the source code, but that would make it even more confusing.
Now we need to tool up.
Toolchain
If you’re on a recent Linux distribution, your package manager might provide an ARM cross-compilation toolchain for you. On Ubuntu that’s gcc-arm-none-eabi. On Arch, arm-none-eabi-gcc.
The arm-none-eabi variant is preferred and tailored to bare metal targets, but I’ve had success with arm-linux-gnueabihf-gcc from Linaro as well. We’re not using any ABI here really, and we strip everything except for raw ARM code, so it doesn’t really matter at this point.
Confirm it’s installed by running:
$ arm-none-eabi-gcc --version
arm-none-eabi-gcc (Arch Repository) 9.3.0
Copyright (C) 2019 Free Software Foundation, Inc.
This is free software; see the source for copying conditions.  There is NO
warranty; not even for MERCHANTABILITY or FITNESS FOR A PARTICULAR PURPOSE.
Build
Save the source file to main.S and build using:
$ arm-none-eabi-gcc -nostdlib -Ttext=0xff704000 main.S -o boot.elf
We need -nostdlib because we provide our own entry point (_start) and we don’t want any code linked from the toolchain’s standard library. The -Ttext=0xff704000 sets the base address for .text (code) sections. See the Boot section below for the significance of this address. We can confirm that worked by checking the disassembly:
$ arm-none-eabi-objdump -d boot.elf

boot.elf:     file format elf32-littlearm


Disassembly of section .text:

ff704000 <_start>:
ff704000:       eaffffff        b       ff704004 <main>

ff704004 <main>:
ff704004:       eafffffe        b       ff704004 <main>
The _start entry point is placed at the specified 0xff704000 address, and main starts 4 bytes after that.
Image
To turn this code into a bootable image for the Tinker Board, we need another tool called mkimage. It’s developed as part of Das U-Boot, and packaged on many distributions - u-boot-tools for Ubuntu or uboot-tools for Arch.
Each SoC has its own requirements for bootable media. This means specific headers, alignments, signatures etc. mkimage handles this for us. We only need to provide it with the binary and instruct it to build an SD card image for RK3288.
First, extract raw code from boot.elf.
$ arm-none-eabi-objcopy -O binary boot.elf boot.bin
The resulting boot.bin should be 8 bytes long and contain only the two branch instructions:
$ hexdump -C boot.bin
00000000  ff ff ff ea fe ff ff ea                           |........|
00000008
Now feed that into mkimage:
$ mkimage -n rk3288 -T rksd -d boot.bin boot.img
Options are quite straightforward. We specify the correct type with -n rk3288 and -T rksd (as in “Rockchip SD card image”) and provide data from -d boot.bin.
Boot
Before we burn boot.img to the SD card, a few words about the RK3288 boot process. After power on, the first code to run is the internal boot ROM. It goes over storage devices e.g. eMMC (for Tinker Board S), SPI flash or SD card and looks for a valid bootable image. When it finds one (and we now have one, thanks to mkimage), it loads the binary into internal SRAM starting at address 0xff704000, and starts executing code starting from 0xff704004.
What’s the “internal SRAM” you ask? Well despite the 2GB of DDR3 memory on the board, the only memory available to us right after power on is 96KB of internal static RAM in the SoC, mapped between 0xff700000-0xff718000. The idea is that this should be enough for a small piece of code to initialize the DDR memory and have further work continue from there. I hope to figure out how to do that soon. For now however, we’ll use those 96KB as the only RAM we’ve got and treat the SoC as a big microcontroller.
One last caveat: the boot image needs to be placed at sector 64 of the SD card. That’s where RK3288 will be looking for it, so that’s where we put it:
# Triple-check which device is your SD card. For me it's /dev/sdb.
# - seek=64 means start writing at sector 64
# - oflag=sync will ensure data is actually written to card before finishing

$ sudo dd if=boot.img of=/dev/sdb seek=64 oflag=sync
Power on
Insert the SD card into the Tinker Board and power on. Voila! Our code is now running on the RK3288, happily doing nothing in particular. And yes, you will have to trust me here because we have no way to prove it. The only output so far is heat coming out of the CPU. In the next part I will show how to connect a JTAG adapter and see what’s happening inside.
References
- Rockchip Wiki, with links to RK3288 datasheet and Technical Reference Manual
- U-Boot source code - the
README.rockchipis a good source of information about booting
Source files to the examples are available on my GitHub at czak/bare-tinker.